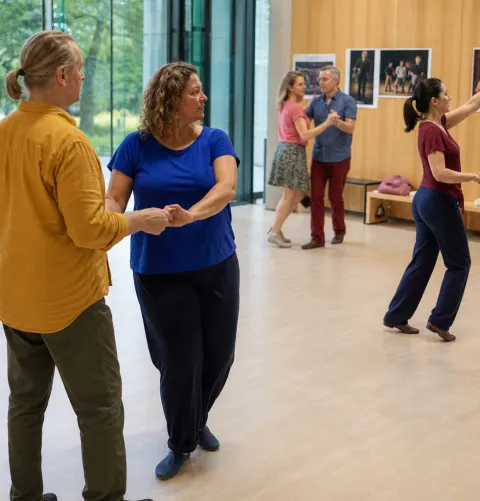
Learning aids5 minutes

Recording videos in dance class: Keep them short and easy to recognize

By Bernhard De LucaUpdated

In short
  • Get consent from the instructor and everyone visibly filmed or audibly recorded before recording.
  • Film only a short, already explained sequence with a visible starting position, full bodies and enough room for footwork.
  • Keep the camera steady and let the sequence run through to completion with audible counts.
  • Check the clip right away and keep it solely for the agreed private use.

At home, the very moment when movement begins is often missing. A carefully chosen excerpt can fill that gap without turning the last minute of class into a little film production.

What you need for the recording

  • Smartphone with available storage and sufficient battery
  • Permission from the instructor and consent from everyone involved
  • A short sequence of steps that has already been explained
  • Clear space away from active dance paths
  • A steady hand holding the camera or a stable phone holder

A learning clip needs the context of the movement

A close-up of the shoes may seem practical, but it makes important information disappear: Which way is the upper body facing? Which foot bears the weight at the start? How are the two people positioned in relation to each other? The whole body explains the footwork better than an isolated shoe. That is why partner dancing also needs the shared starting position in the frame. For a solo sequence, you need room for your arms and changes of direction.

Choose a sequence with a clear beginning and end. A single transition may be enough if that is exactly where your memory fails. Recording several newly learned figures in a row makes the clip confusing. For a side step in Slow Waltz, for example, the sideways movement needs to remain visible until the feet close, not just the final position.

The perspective must not obscure the movements. A slightly angled view from the front often lets you see body alignment and the distance between the feet. If the partners' feet are positioned one behind the other, another angle may be needed. A mirror in the background may unintentionally show other people. The recording is a memory aid for material explained in class, not a substitute for corrections. To review it later, you can add it to your practice plan between two class sessions.

A saved clip should remain understandable even without the atmosphere of the class.

How to record your short course segment

  1. Agree on recording together

    Please ask the instructor for permission and explain the purpose: recording a specific sequence for your private review only. Include everyone who is clearly visible or audible; if anyone says no, keep the camera off. Consent to being filmed does not automatically mean you can share the recording.

  2. Set a start and end

    Choose a sequence you have already explained with the participants, and set a clear endpoint. Also agree on who will call out the counts. That way, everyone knows when to start and when the recording ends, instead of adding more moves while filming.

  3. Choose a clear area in the frame

    Position yourself outside the active practice area and point the camera away from other participants. Also take mirrors and background voices into account. If bystanders remain in view or are clearly audible, wait for a quieter moment.

  4. Set up the camera and distance

    When performing a wide partner movement, use landscape orientation and hold your smartphone steady at about hip height. Leave some room around heads, hands, and shoes. Step back for a wider shot instead of zooming during the movement; avoid extreme wide angle.

  5. Make the Starting Position Visible

    Have the dancers stand briefly in the starting position before they begin. Call out the starting foot and the leg carrying the weight, as well as each partner's role. This will help you see later whether the first visible step is preceded by a weight change.

  6. Record the sequence in one take

    Start recording before the first cue and film through to the calm ending. Audible counts connect the steps and timestamps. Stay in your spot, don’t pan to follow every foot, and stop if you make a mistake instead of keeping an incorrect version as a reference.

  7. Watch the clip and save it privately

    Play the recording right away: Are the feet and the finish in frame? Is the cue clear? Repeat only if there’s a specific issue. Save the usable version without automatically sharing it in groups or on social media, and delete any unnecessary failed attempts.

Small choices, clear recording

Like this

  • Hold your phone steady with both hands
  • Use the regular camera app without motion filters
  • Use window light from the front or side
  • Mute notifications before recording

Not like this

  • Walk behind the dancers with your arm outstretched
  • Use effects that alter body contours
  • Film directly toward a bright window
  • Let calls interrupt the recording

Your control over the clip

Before you start

Preparation

During playback

Check

After saving

Completion

Frequently asked questions

  1. Only film after getting permission from the instructor and consent from the people involved. The dance school may prohibit recording under its house rules. Private use does not make visible faces or audible voices irrelevant, so point the camera only at the agreed area.

Capture the next sequence together capture

On udansa connect, you’ll find dance partners to review course material you already know with. To make a practice clip together, agree beforehand on who will be recorded and who will get the file.

Capture the next sequence together capture