Hand technique6 minutes

Learn Flamenco hand movements: circles and finger sequences

By Bernhard De LucaUpdated

In short
  • You learn Flamenco hand movements by first practicing small wrist circles and individual finger movements separately.
  • Then combine a slow circle with a finger sequence while keeping your elbow as still as possible.
  • The order of the fingers and the hand shape may vary depending on the school and choreography.
  • Practice without forcing end positions, and stop the movement if you feel pain, tingling, or numbness.

When you watch a video, a moving hand often looks effortless. But when you try to imitate it, all your fingers suddenly stiffen. A slow attempt helps you see more clearly where you can’t yet control each finger’s movement separately.

What you need for the hand exercises

  • Pain-free, freely moving hands and wrists
  • Plenty of room for relaxed forearms
  • Comfortable clothing that leaves your wrists uncovered
  • A mirror or a short video recording
  • A few quiet minutes without props

Floreo connects movements, not a rigid hand shape

In Flamenco, Floreo often refers to the shaped movements of the hands and fingers. As the movement unfolds, the direction of the palms, the opening of the fingers and the position of the wrists change. The result isn't a single pose that you hold for as long as possible. Nor is there a finger sequence that is mandatory across all schools, teachers and choreographies.

For this exercise, you separate two tasks: In a wrist circle, the hand traces a small, rounded path in relation to the forearm. When opening and closing, the fingers move in sequence. Rotating the entire forearm can also turn the palm, but that doesn't automatically replace the circle at the wrist. So start by keeping your forearm as still as possible, without locking it in place.

The movement should stay within your available range of motion. A bigger circle isn't necessarily better, and a hand bent back forcefully doesn't become more expressive just because it bends further. The article on mobility through dance explains why controlled movement and additional stretching serve different purposes.

The finger sequence used here is a learning aid: you can easily observe its timing. Larger arm movements are part of Braceo and are deliberately left out of this exercise. This helps you see whether the hand itself is moving or the whole arm is obscuring its movement.
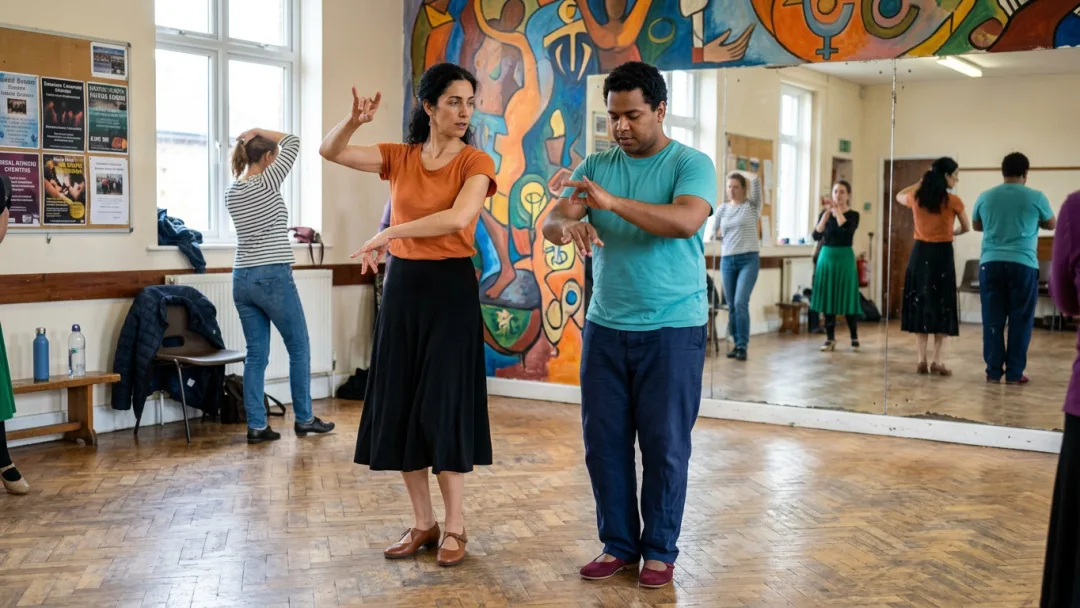
In the mirror, the direction of rotation looks reversed, so follow your own hand and its path of movement.

Seven steps to connected movement

  1. Gently warm up your hands

    Open and close both hands a few times without applying force. Then gently move your wrists back and forth without pushing them to their end range. Only start the circles when the movement feels free and you don't notice any pain.

  2. Find a relaxed starting position

    Hold one forearm in front of you, with your elbow relaxed and below shoulder height. Keep your fingers softly curved and your thumb relaxed. Start by using just one hand: You should be able to watch it without twisting your upper body or raising your shoulder.

  3. Draw small circles in both directions

    Use your hand to trace a small circle opposite your forearm, slowly and without sharp corners. Change direction after a few repetitions. You're doing it right if your elbow doesn't move in a circle too, and the range of motion stays small and controlled even at its most difficult point.

  4. Open your fingers one after another

    Start with your fingers gently curved. As a variation, open your little finger, ring finger, middle finger, and index finger one after another; keep your thumb relaxed at first. Don't force complete separation: the ring and middle fingers in particular may move along a little, as long as the sequence remains clear.

  5. Reverse the finger sequence

    Now curl your index finger, middle finger, ring finger, and little finger one after the other into a soft curve. Don’t make a fist or press your thumb firmly over them. You can reverse the movement by gathering your fingers without squeezing your palm tightly.

  6. Connect the circle and finger sequence

    Do the opening over one slow wrist circle and the closing over the next. Choose the easier circle direction and keep the pace slow. If the finger sequence breaks down, make the circle smaller; don’t speed up to skip the difficult part.

  7. Add the other hand

    First practice the same sequence on its own with the other hand. Then let both hands work at the same time, each moving in its comfortable circular direction. Count evenly and stop after a few relaxed repetitions, before your grip tightens or your forearms become noticeably tired.

Correct typical evasive movements

Like this

  • If your circle looks angular, reduce the range of motion
  • Keep your thumb relaxed alongside your fingers
  • If your finger sequence feels jerky, slow down
  • Practice with your weaker hand on its own at first

Not like this

  • Draw the circle with momentum through the difficult part
  • Press your thumb firmly into your palm
  • Spread all your fingers open at once to keep up
  • Just let your weaker hand follow along

Your quick practice check

Before Connecting

Solo Practice

After Connecting

Coordination

After the session

Wrap-up

Frequently Asked Questions

  1. You don't have to choose your hand movements according to a fixed gender rule. In some teaching traditions, certain forms are taught differently, while others use shared technical foundations. This exercise uses the same tasks for everyone: a controlled circle, a clear finger sequence, and a relaxed thumb. Later, the styling depends on the class and choreography.

Your hands practice with patience

On udansa connect, you can find dance connections to arrange a short technique practice with. One person practices while the other watches to see whether the circle and finger sequence are still recognizable from the outside.

Your hands practice with patience